Cadfil Joining Path wizard
 Cadfil Help contents
  Cadfil.com Home
Introduction
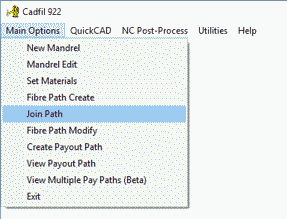
The joining path wizards starts a joining path by extracting parameters from the payout files that will come before and after it. It can be run in two ways. From the main menu select the Join Path option and the prompt Run Joining Path Wizard? is given. If you select No then you pick a mandrel and specify the start conditions for the joining path as normal. Selecting Yes starts the Wizard. The second way of running it is in the combine programs dialog. If you click to select a payout file from the displayed list and then click the Join Path button the payout path and the one after it in the list are selected and used for the joining path limits.
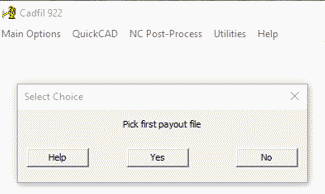
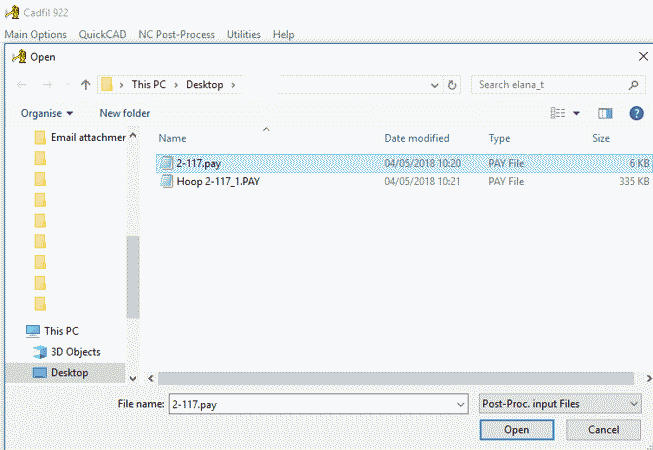
Running From the main menu, after selecting Yes at the Run Joining Path Wizard? prompt you will be asked 'Pick first payout file' and then 'Pick Second payout file', in both cases you get the windows file selection dialog to select a .pay file. Alternatively you can open the joining path wizard from the combine files dialog, which would automatically pick the two payout file names from the two files, then continue at the joining path wizard dialog as described further down the page.

Joining path wizard dialog
After selecting the two files the Joining path Wizard Selection dialog below is shown.
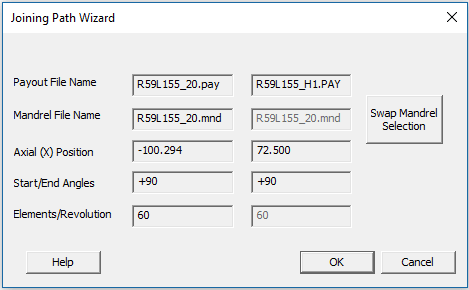
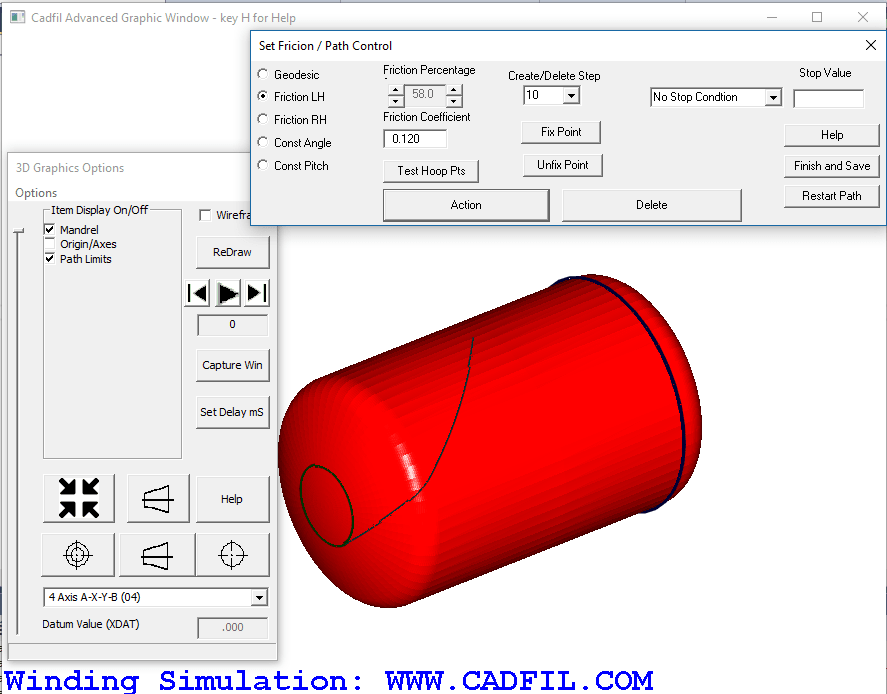
The above dialog shows that data after selection the two payout files. The left column is for the start of the joining path, the start of the joining path will be automatically set at the start X (axial) position shown in the hoop (circumferential direction) that matches the direction of in previous payout path i.e. with +90 or -90 wind angle. The target position for the end of the joining path is shown in the right column. The mandrel and elements per revolutions to use is set from the left or right column (the values not dimmed). To swap the selection there is the Swap Mandrel Selection button. The Help button shows this page, the Cancel button quits back to the main menu and the OK button launches the joining path as shown below. In the 3D model the start position is shown as a green circle and the end position as a Blue circle. You need to set some friction % (LH or RH), set an advance step to say 20 or 50 and then try to steer the path to get it to turn close to the blue circle. I few iterations with different friction % might be needed to get it right. Creating a path is described in more detail elsewhere in this help file, ( Creating a Joining Path) and using the Friction & Step Dialog.
